
 Contact
 Cum să cumpăr
Livrare
Consilier de cumpărături
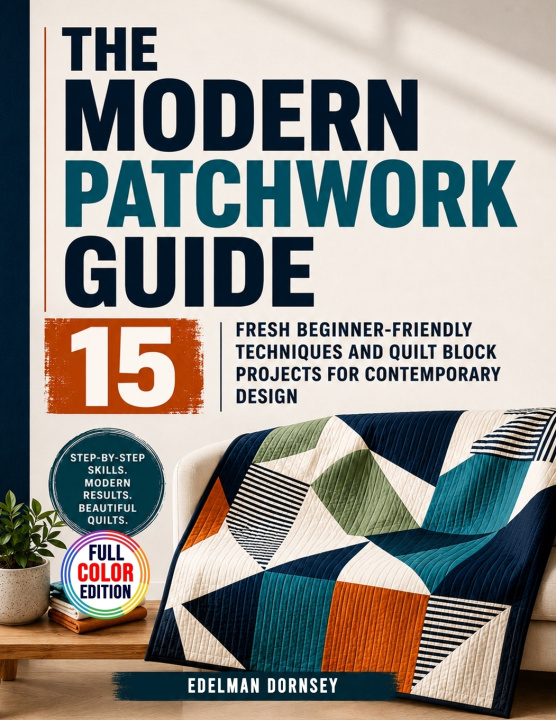
The Modern Patchwork Guide
15 Fresh Beginner-Friendly Techniques and Quilt Block Projects for Contemporary Design
 engleză
 59 b
59 b
 Curând
 Nou
Nou
Până la 30 de zile pentru returnare

Fifteen chapters. Seven foundational techniques first, then eight projects that each travel from a bare cutting mat to a bound, finished piece. No prior sewing or quilting is assumed anywhere in the book, and a machine that sews a straight stitch is the only equipment you need on the first day.
The order is built on purpose. You square one genuinely true edge, sew a scant quarter inch you have actually measured and confirmed, and learn to press seams so they nest before a single block is assembled. Each project chapter then names the exact earlier chapter its construction leans on, so a skill is never asked of you before it has been taught. That is what keeps a beginner moving with confidence instead of guessing at the steps hidden inside a finished photograph.
Bare Cutting Mat to Sampler Lap Quilt
- Rotary cutting and squaring fabric to true grain, the single quiet skill every block in the later chapters depends on
- A scant quarter inch seam you confirm with a test unit, plus chain piecing that keeps a whole stack of pieces consistent
- Half square and quarter square triangles built two at a time, then strip sets and gentle curves sewn without stretched edges
- A Modern Nine Patch and a Half Square Triangle Pinwheel, each pieced, quilted, and bound into a small finished piece in one sitting
- A Flying Geese table runner, a Churn Dash pillow, a Modern Log Cabin block, and a Simple Curves cushion to follow in turn
- Basting, straight line quilting, and machine binding finished by hand, taught once in the finishing chapter and reused on every project
- A Sampler Lap Quilt at the close that gathers the earlier blocks into one contemporary top with room to breathe
What reads as contemporary here comes from choices rather than special equipment: two or three bold solids picked for strong contrast instead of a dozen coordinating prints, a generous stretch of negative space, and a block set deliberately off center rather than centered by habit.
Why These Blocks Lie Genuinely Flat
- Press the top and bottom rows one direction and the middle row the other, so seam allowances nest rather than stack into a lump
- Test a scant quarter inch by sewing two strips and checking the joined unit measures exactly two and a half inches across
- Match and pin every seam intersection, then square each finished block to a true twelve and a half inches on all four sides
- Read a plain diagnosis for a trapezoid, a stair step, or an off center square, each traced back to one specific cause and fix
- Handle bias edges flat and unstretched so a pinwheel center meets cleanly with no ripple around the point
Two solids in strong contrast. One straight stitch machine. A quarter inch held steady, seam after seam. That is the entire toolkit behind every graphic, high contrast block in these pages. Work the chapters in order and the cutting, seaming, and pressing habits stop feeling like separate chores and start adding up to finished objects you genuinely want to keep and use.
Chapter one begins at the cutting mat, squaring one clean edge before anything else. Start there, and your first finished block is only a few evenings away.


Informații despre carte
engleză
